Website Copilot Assistant
A tab-by-tab guide to the Copilot Manager: put an assistant on your own website that answers from your content, guides visitors around the page, and can speak — one script tag, billed to your organization.
Open the Copilot Manager
Go to Organizations, open your organization, then click Copilot Embed. This is visible to owners, admins, and devs of the organization (plus platform system admins). It lands you on the Overview & Snippet screen at /companies/{id}/copilot/overview, the first of seven tabs in the manager’s sidebar, always in this order:
- Overview & Snippet — create the assistant, watch readiness, install the snippet, preview and share, rotate key / revoke.
- Tours — author scripted walk-throughs (website tours and in-app tours).
- Site Sources — add sitemap / auto-discovered / manual-URL sources, run syncs, watch status, browse crawled pages.
- Documents — upload documents and view crawled web pages.
- Datasources — link existing organization datasources to an embed.
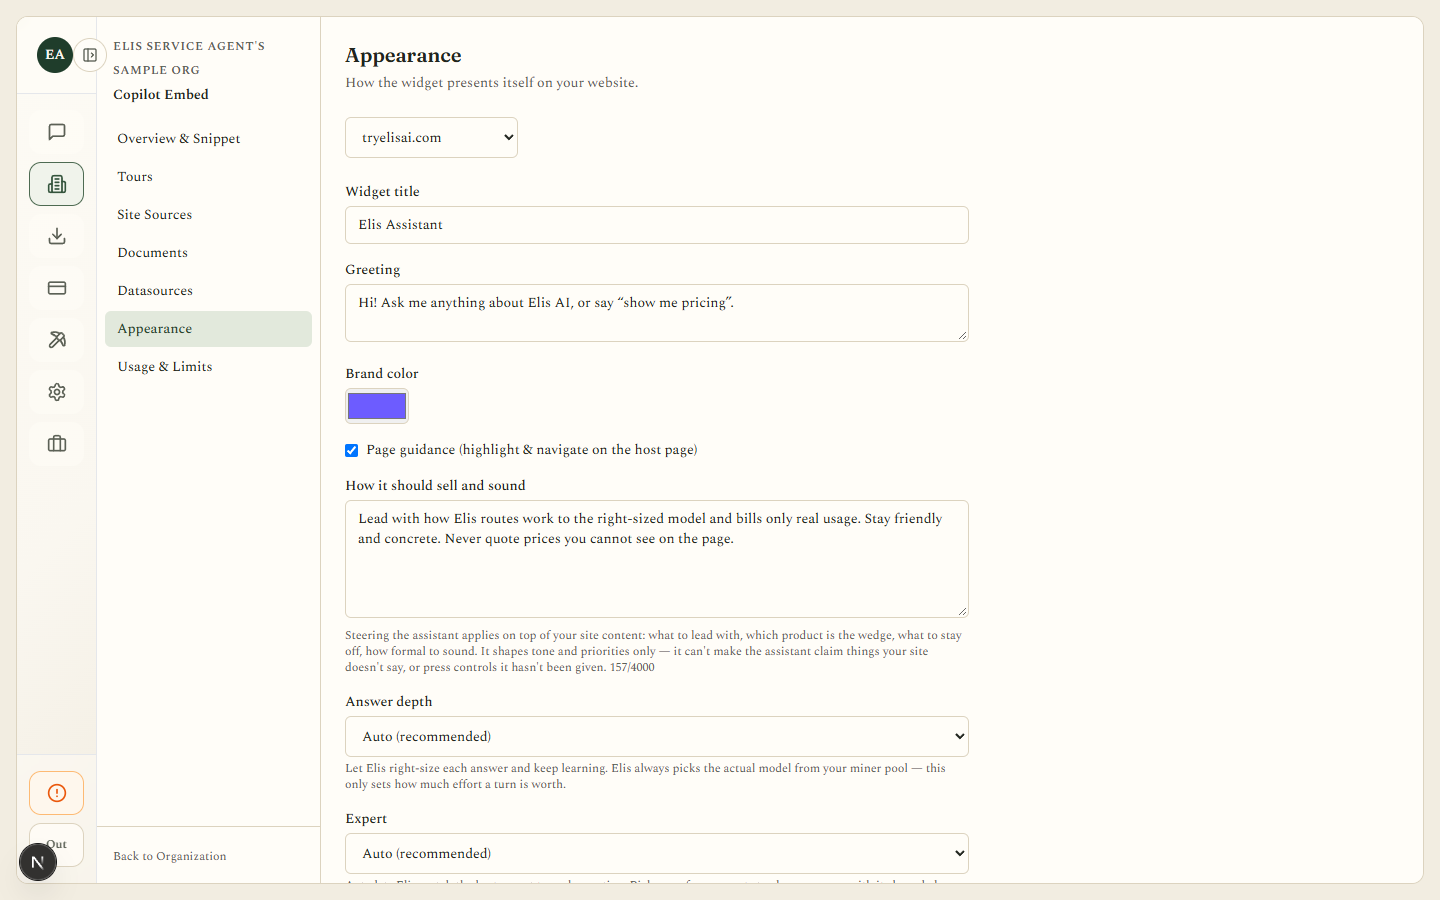
- Appearance — title, greeting, brand color, voice, page guidance, persona, answer depth, expert, web access, write actions.
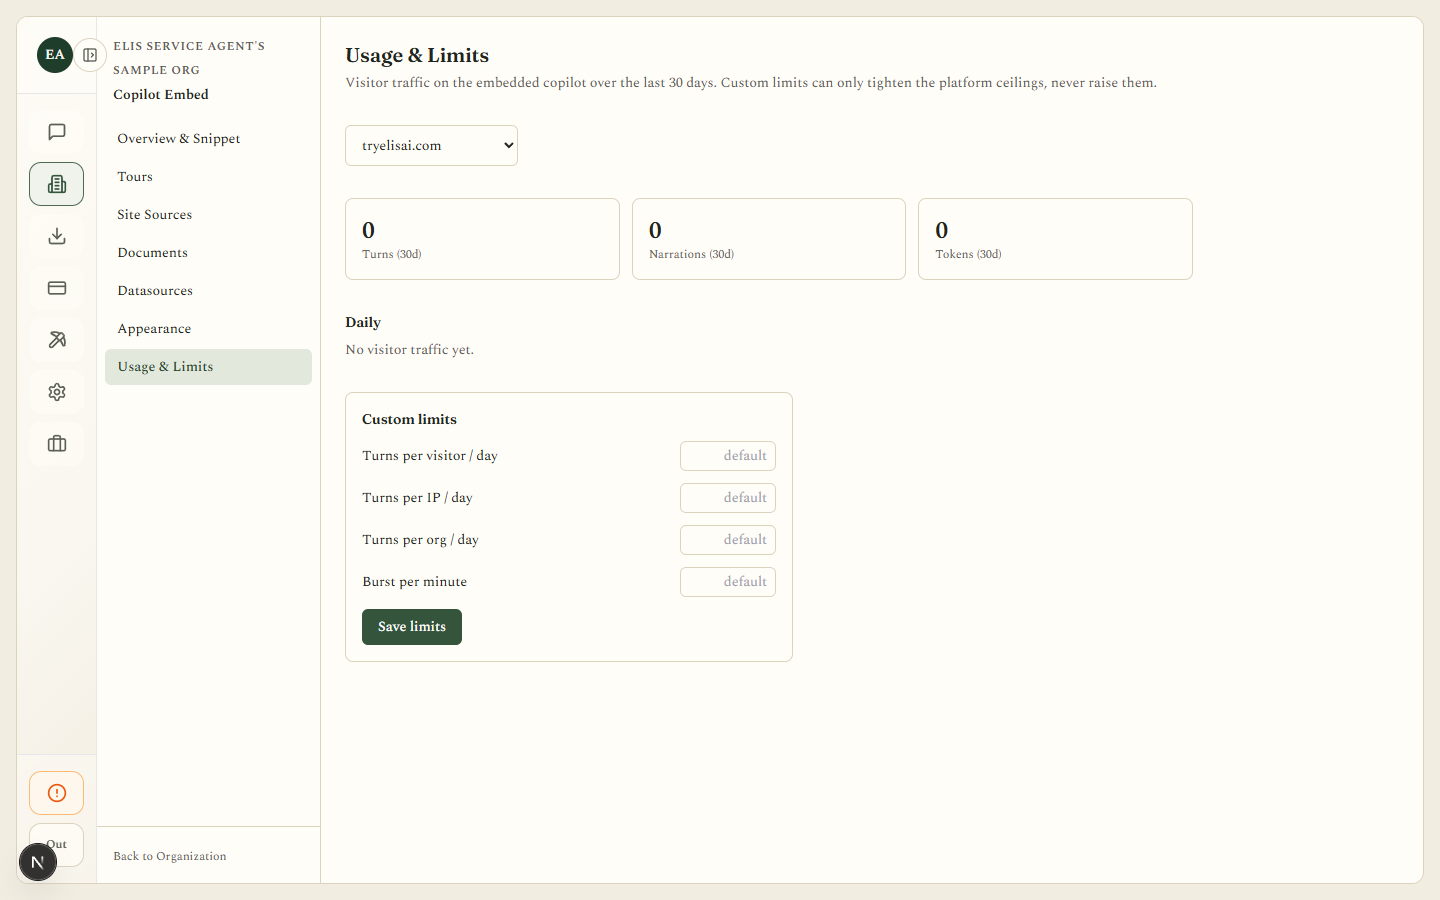
- Usage & Limits — daily usage totals and rate-limit overrides.
Every tab that configures one embed starts with an embed picker, because an organization can run several embeds — one per site. If the manager shows “The embeddable copilot is not enabled on this deployment (EMBED_COPILOT)”, ask a platform admin to turn the feature on before continuing.
Overview & Snippet: create, install, preview
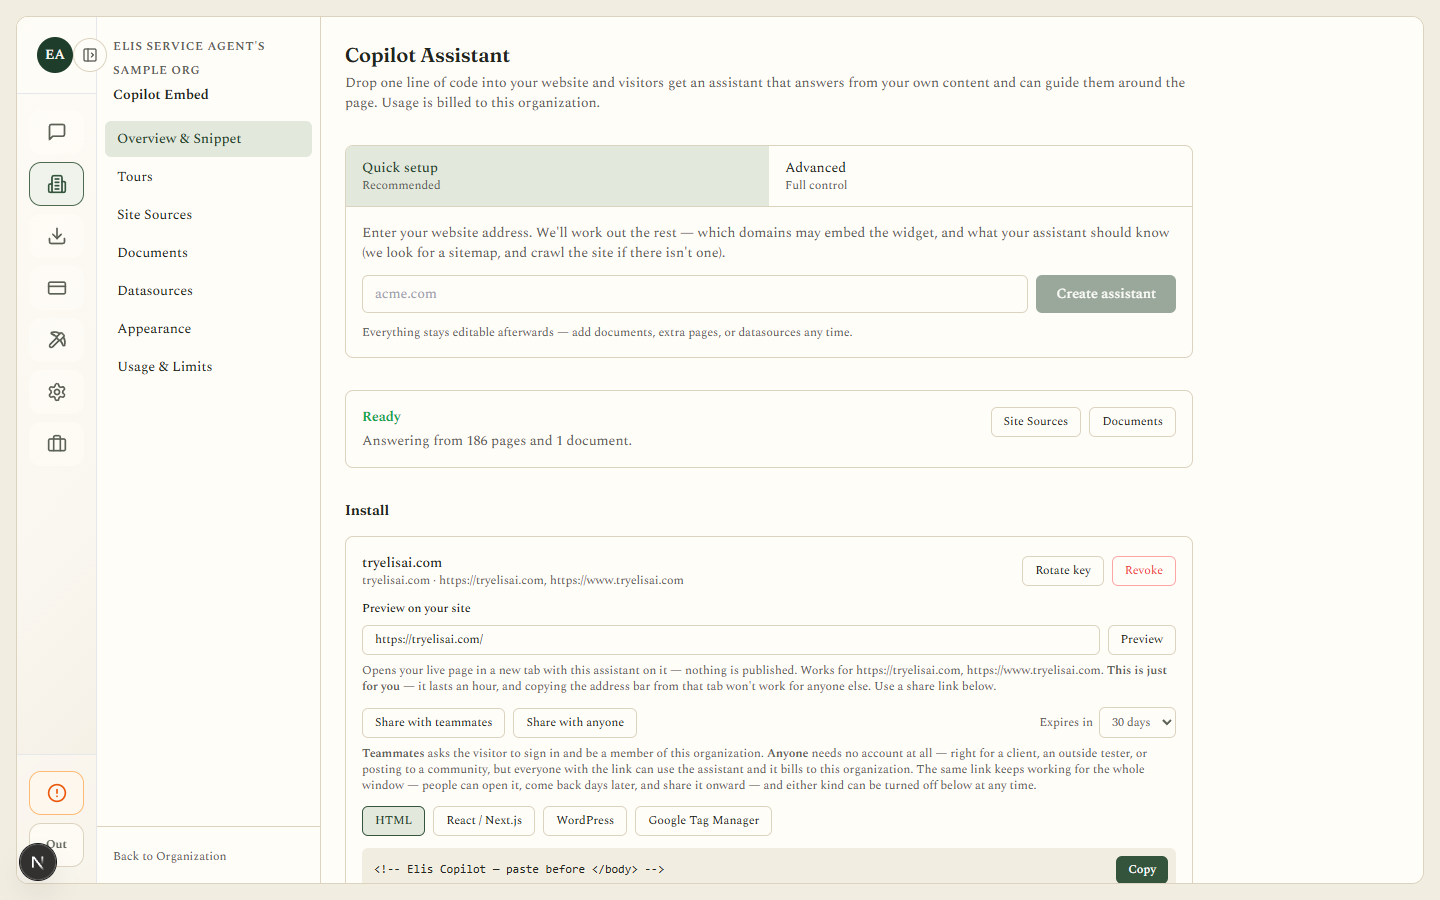
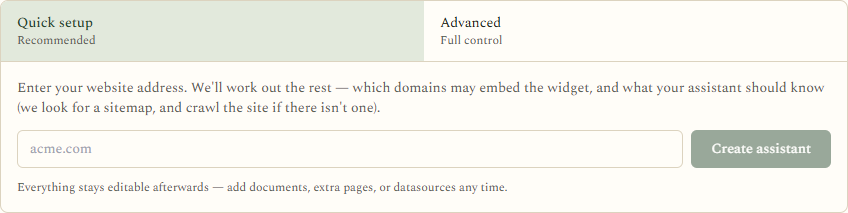
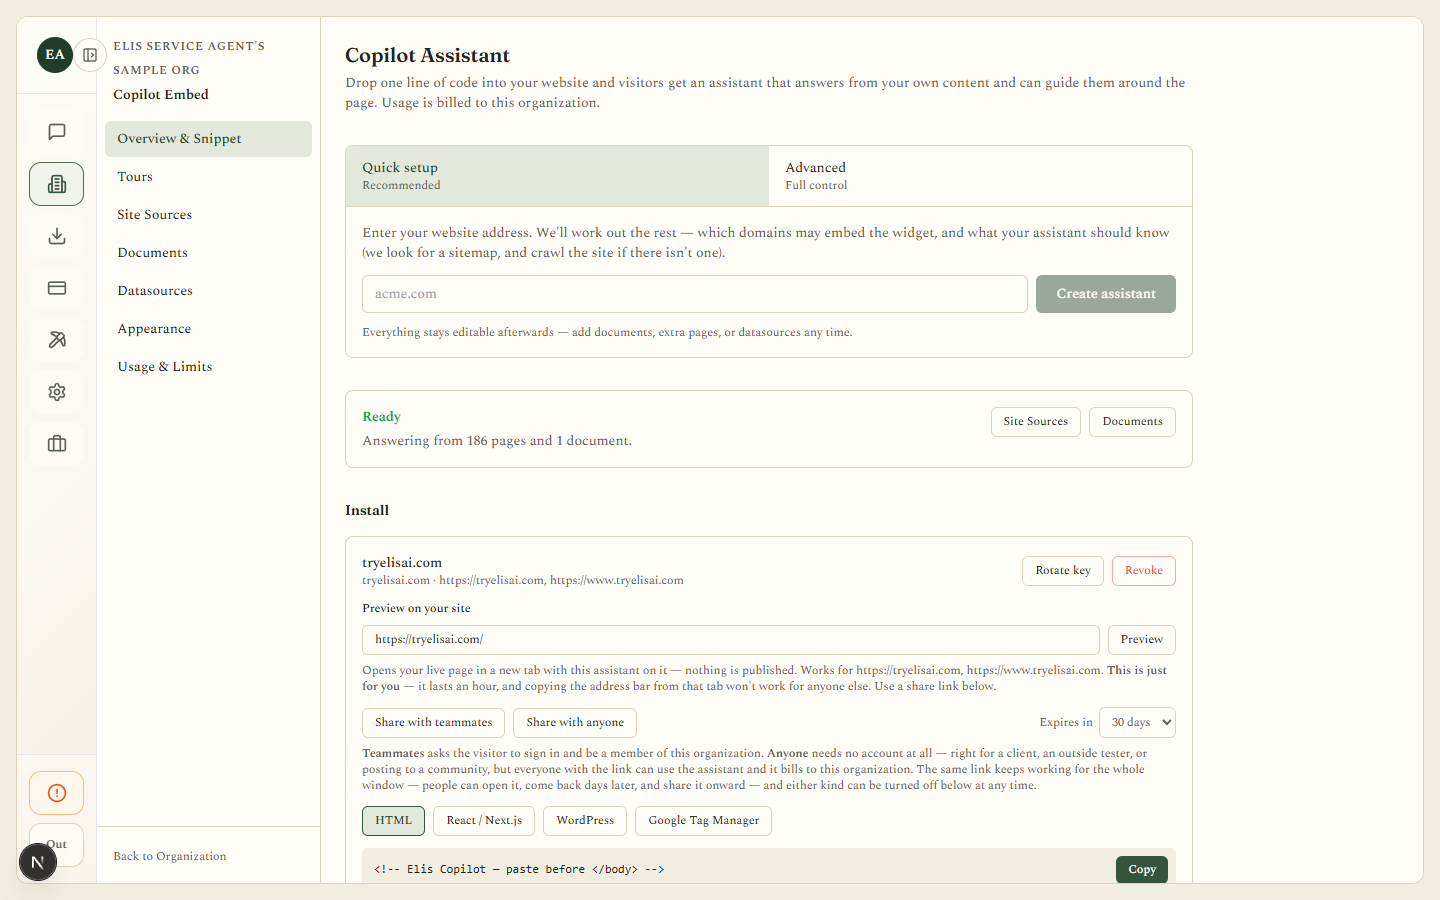
This is the front door: create the assistant, watch it get ready, install the snippet on your site, preview and share it before it ships, and rotate or revoke its key. Two setup tabs sit above the create form: Quick setup (“Recommended”) and Advanced (“Full control”).
Quick setup is one field (placeholder acme.com) and a Create assistant button. Elis derives the rest:
- The site domain and allowed origins — the apex domain and its
wwwsubdomain. - An
autosite source, with indexing starting in the background: it readsrobots.txtfor aSitemap:line, falls back to well-known sitemap paths, then runs a bounded same-domain crawl. - Voice turned on out of the box if your organization’s miner pool can serve a voice — otherwise it stays off until you pick one on Appearance.
Two errors you might see on Quick setup: “That doesn’t look like a website address — try something like acme.com.” and “Your account is in BYOK-only mode, which can’t back embed billing. Pick another owner under Advanced.”
Advanced gives full control: Name (e.g. Marketing site), Site domain (e.g. www.acme.com), and Allowed domains — one origin per line, e.g. https://www.acme.com — then Create embed. No crawl starts automatically; curate knowledge yourself on Site Sources, Documents, and Datasources. “Only these origins may load the widget — requests from anywhere else are refused.”
Right after creation, a readiness card tracks how much the assistant knows, with shortcut buttons to Site Sources and Documents. It has four states:
- Indexing your site… (amber) — “N pages so far — you can install the snippet now; answers improve as pages land.”
- Ready (green) — “Answering from N pages and N documents.”
- Indexing failed (red) — “Check Site Sources for the error, then re-run the sync.”
- No knowledge yet — “Add a site source or upload documents so the assistant has something to answer from.”
While a crawl is running, the card refreshes itself every 8 seconds — no need to reload the page.
Under Install, each live embed gets its own card: name, site domain, allowed domains, and Rotate key (“Issue a new key; the old snippet stops working”) / Revoke (confirm: “Revoke this assistant? The snippet stops working immediately.”).
Below that, Preview on your site: enter a page URL on one of the embed’s allowed domains and click Preview to open it on a separate preview host with the widget already injected — nothing is published, and the tab is just for you (it lasts an hour). To hand it to someone else, use a share link: Share with teammates asks the visitor to sign in as a member of this organization; Share with anyone needs no account at all — right for a client, an outside tester, or posting to a community. Pick how long the link lasts with Expires in (default 30 days); either kind of share can be revoked from the list at any time, and until then it keeps working for whoever has the link, billed to this organization.
The install snippet below Preview has four variant buttons — HTML, React / Next.js, WordPress, and Google Tag Manager — plus Copy to copy the whole snippet and “Copy embed key only” if you just need the key for a config value. The HTML variant is a single tag:
<!-- Elis Copilot — paste before </body> -->
<script src="https://app.tryelisai.com/embed/copilot.js" data-key="elis_emb_…" async></script>
That key is printed straight into your page source, and that’s fine — it isn’t a secret. Security comes from the allowed-domain check on every call plus per-visitor, per-IP, and per-org quotas, not from hiding the key.
Tours: scripted walk-throughs
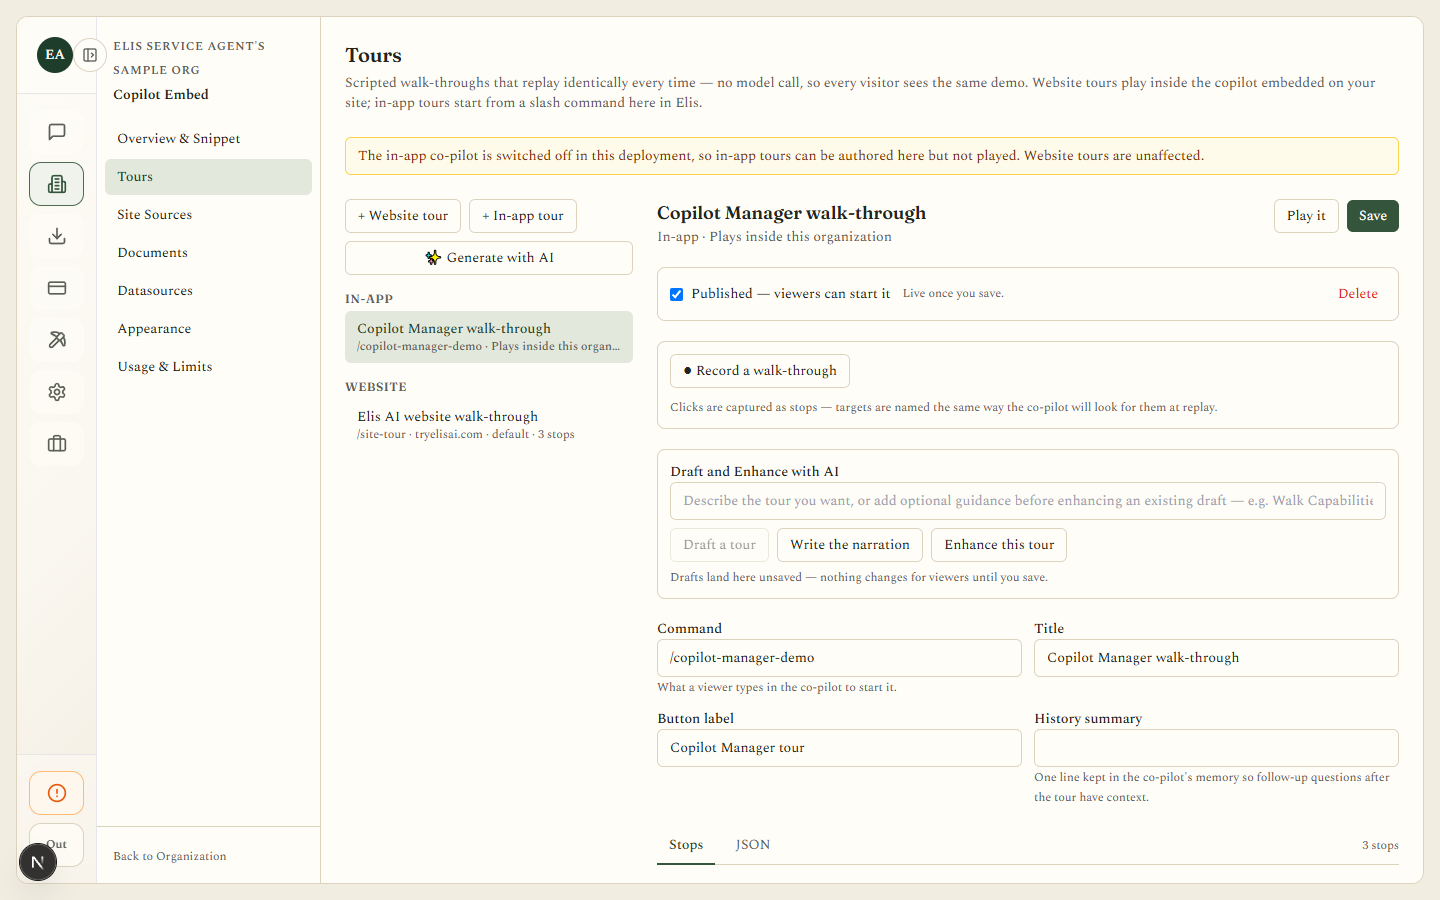
Tours are data, not a live model call: an ordered list of stops that replay identically for every viewer. There are three kinds — website (embed) tours, started by the widget’s Take the tour button; in-app (org) tours, started with a slash command inside Elis; and platform demos, authored by system admins for every signed-in viewer. You can author a tour by recording a walk-through, drafting or enhancing one with AI, or editing its stops directly as a form or as raw JSON.
This tab is covered in full in Authoring Copilot Tours, including recording, AI drafting, the stop editor, delivery settings, and publishing.
Site Sources: what the crawler indexes
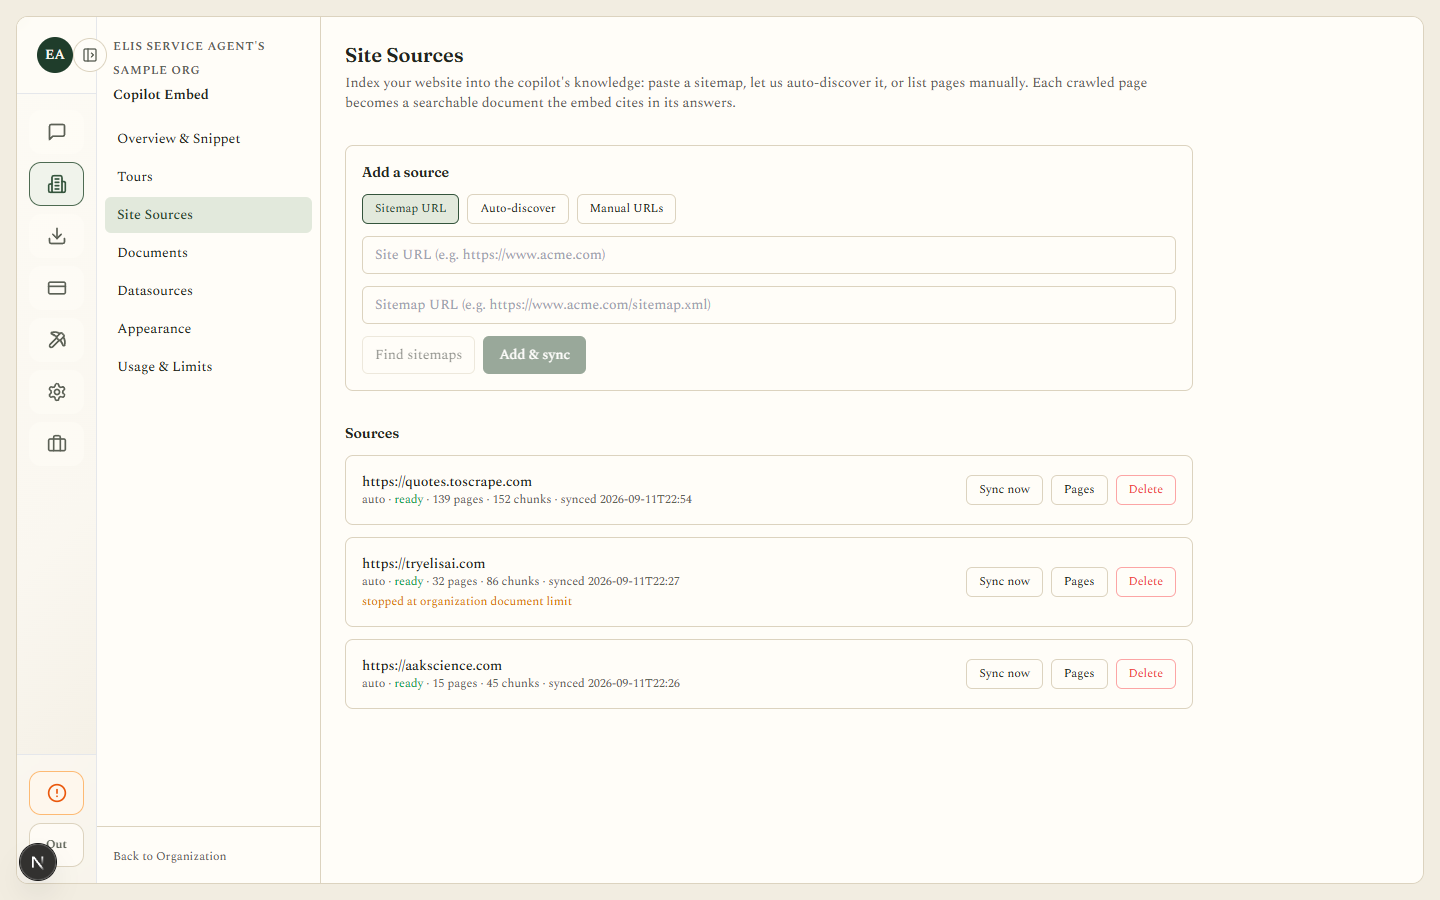
Add a source with a kind button — Sitemap URL, Auto-discover, or Manual URLs — then a Site URL or Sitemap URL field (or a one-URL-per-line box for Manual). Discover lists candidate sitemaps for a base URL before you commit; Add & sync creates the source and starts its first sync.
Each row in the Sources list shows its status (pending, syncing, ready, or failed, with the error message when failed), page and chunk counts, and when it last synced — e.g. “auto · ready · 32 pages · 86 chunks · synced 2026-09-11T22:27”. Buttons: Sync now (disabled while syncing — a sync is incremental, so unchanged pages are hash-skipped and not re-embedded), Pages to expand the crawled page list, and Delete (confirm: “Delete this source and its indexed pages?”).
Each expanded page shows its URL, its own status, and a notes field (“What is this page for? (used when drafting a tour)”) — written by a person, never by the crawler, and kept across re-syncs. Behind the scenes, every crawled page becomes a web_page company document embedded through the miner pool, and a page that renders thin because it’s JS-only gets one retry through a rendered fetcher before being marked skipped.
Documents: uploads beside crawled pages
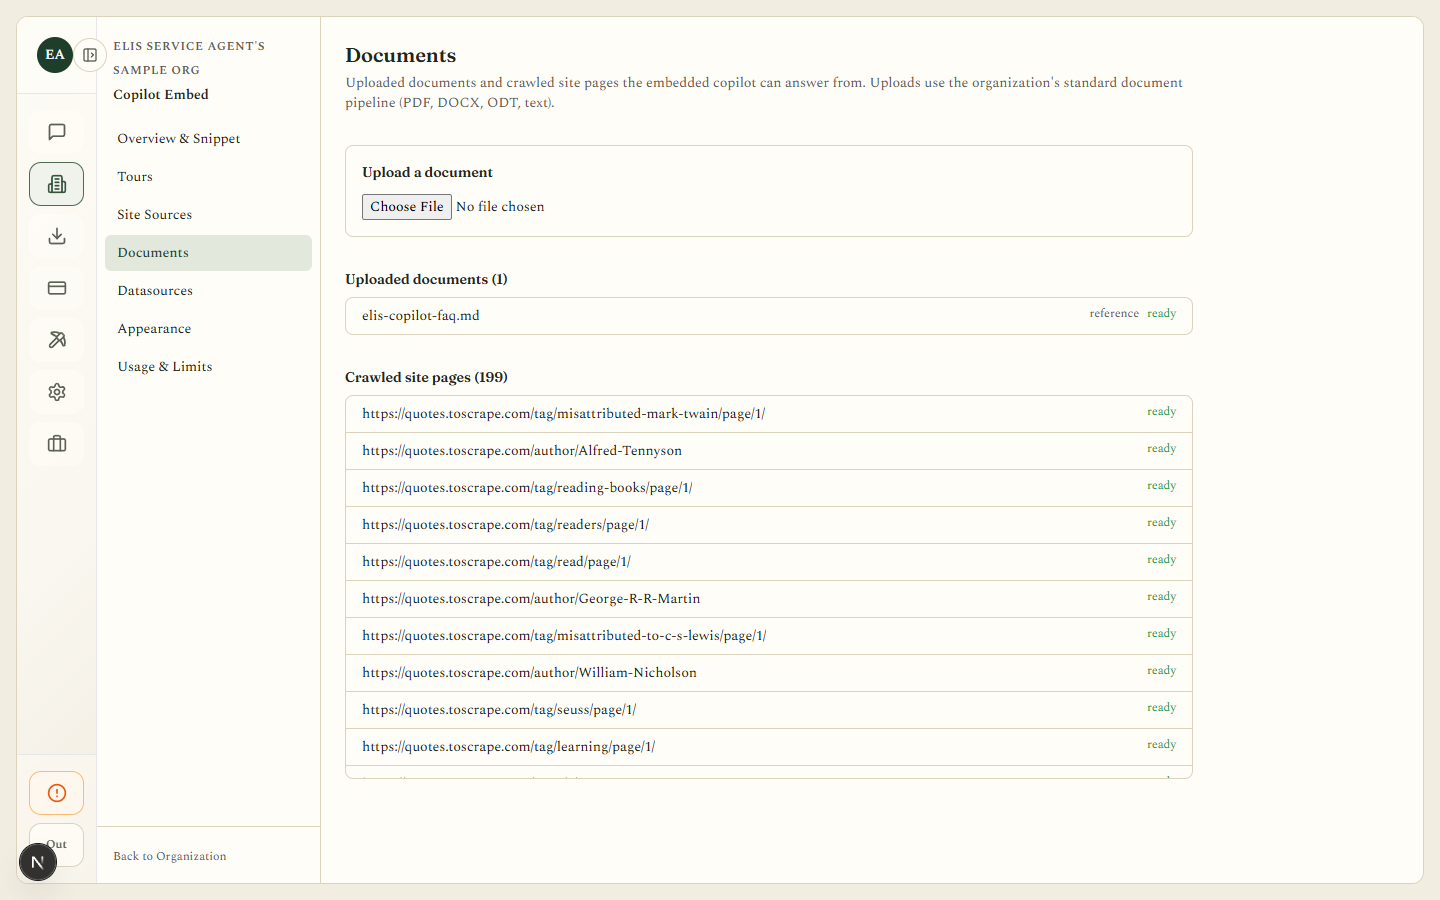
Upload a document with the file picker to add a reference file directly — uploads go through the organization’s standard document pipeline, so your org’s document limit applies here too. Two lists sit below it: Uploaded documents (N), and Crawled site pages (N), kept separate so you can always tell which is which. Each item’s processing status is colored — ready in green, failed in red, and anything still processing in amber.
Datasources: link what the org already has
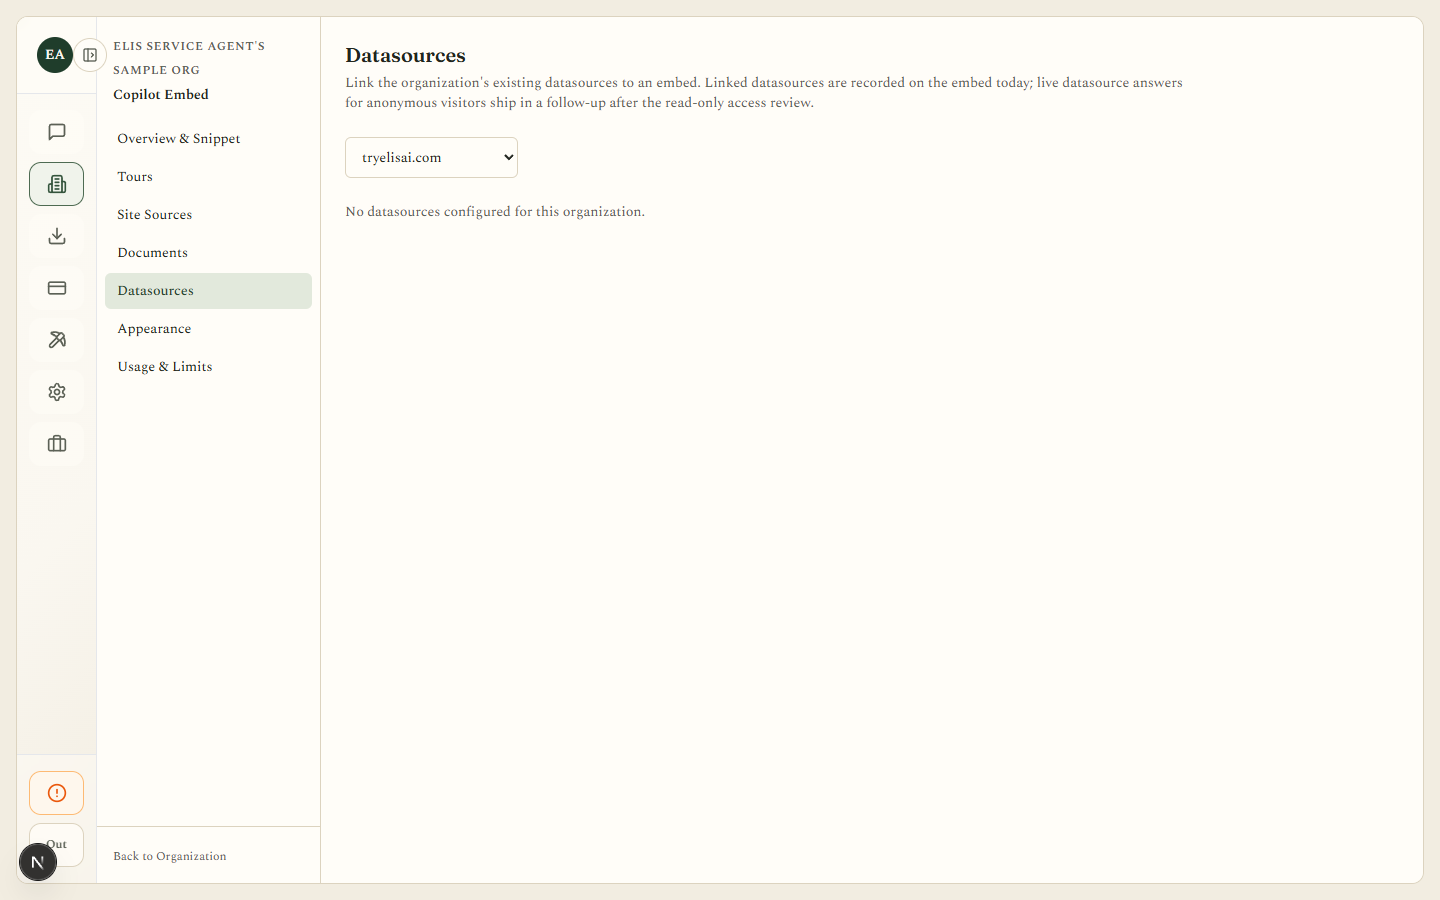
Pick the embed at the top, then check any of your organization’s existing datasources (the same ones configured under Organization Integrations) to link them to it. Each checkbox saves immediately to the embed’s enabled datasources — there is no separate Save button. With none configured, the tab reads “No datasources configured for this organization.”
This is link-only in this version: the page says so directly — linking is recorded on the embed today, but live datasource answers for anonymous visitors ship in a follow-up, after a read-only access review. Linking now doesn’t change what an anonymous visitor’s turn can read yet.
Appearance: look, voice, persona and answer depth
Pick the embed to edit at the top, then work through every control:
- Widget title (placeholder “Assistant”) and Greeting (defaults to “Hi! Ask me anything about this site.”) — both editable per embed.
- Brand color — tints the widget to match your site (default
#6d5cff). - Page guidance (highlight & navigate on the host page) — a checkbox letting the assistant highlight and navigate around your site.
- How it should sell and sound — the persona textarea, capped at 4000 characters. It steers what to lead with, what to stay off, and how formal to sound; it shapes tone and priorities only, and it can’t make the assistant claim things your site doesn’t say or press controls it hasn’t been given.
- Answer depth — a speed mode, not a model choice:
Mode What it’s for Auto (recommended) Let Elis right-size each answer and keep learning. Instant Fastest, smallest. Best for a nav-only assistant. Fast Quick replies, shorter reasoning. Balanced Middle ground on speed and depth. Deep Most capable. Best for detailed sales answers. - Expert — leave it “Auto (recommended)” and the orchestrator matches an agent per turn, or pin one of your organization’s agents.
- Allow web search — a checkbox, off by default, letting a turn supplement your own knowledge with a web search.
- Voice narration — a checkbox plus a Voice picker grouped into “Recommended (served by your miner pool)” and “Other voices”, listing only voices your organization’s pool can actually serve.
- Allow actions (“Act for me”) — the org-level opt-in for write actions (click / type / select) on your site. It only takes effect with three locks all closed: the deployment itself must allow writes, your organization must opt in here, and the visitor must also check their own consent toggle in the widget. The nested …including pressing submit checkbox is a fourth, separate opt-in, off by default: leave it off and the assistant fills a form but hands the visitor the send button.
Save shows “Saved.” or “Save failed.”; use the preview action to check changes on your own site before they ship to visitors.
Usage & Limits: traffic and caps
Pick the embed at the top to see its totals for the last 30 days: Turns (30d), Narrations (30d), and Tokens (30d). Below that, the Daily table breaks the same window down by day — Day, Turns, Narrations, Tokens, and Unique visitors — or, on a brand-new embed with no visitors yet, it simply reads “No visitor traffic yet.”
Custom limits lets you tighten four fields per embed: Turns per visitor / day, Turns per IP / day, Turns per org / day, and Burst per minute (each defaulting to the platform ceiling until you type a lower number), then Save limits. Overrides may only lower the deployment’s own ceilings, never raise them. Those defaults are 30 / 60 / 2000 turns per day with a burst of 10 per minute; narration (speech) is metered separately and sized for speech, at 400 / 800 / 20000 per day with a burst of 60 per minute.
Every visitor turn and narration is billed to your organization through the embed’s billing user, so keep that owner’s billing in good standing.