Billing & Tokens
Purchase token packages and view your transaction history.
Navigate to Billing
Click Billing in the sidebar. You'll see your current token balance at the top of the page.
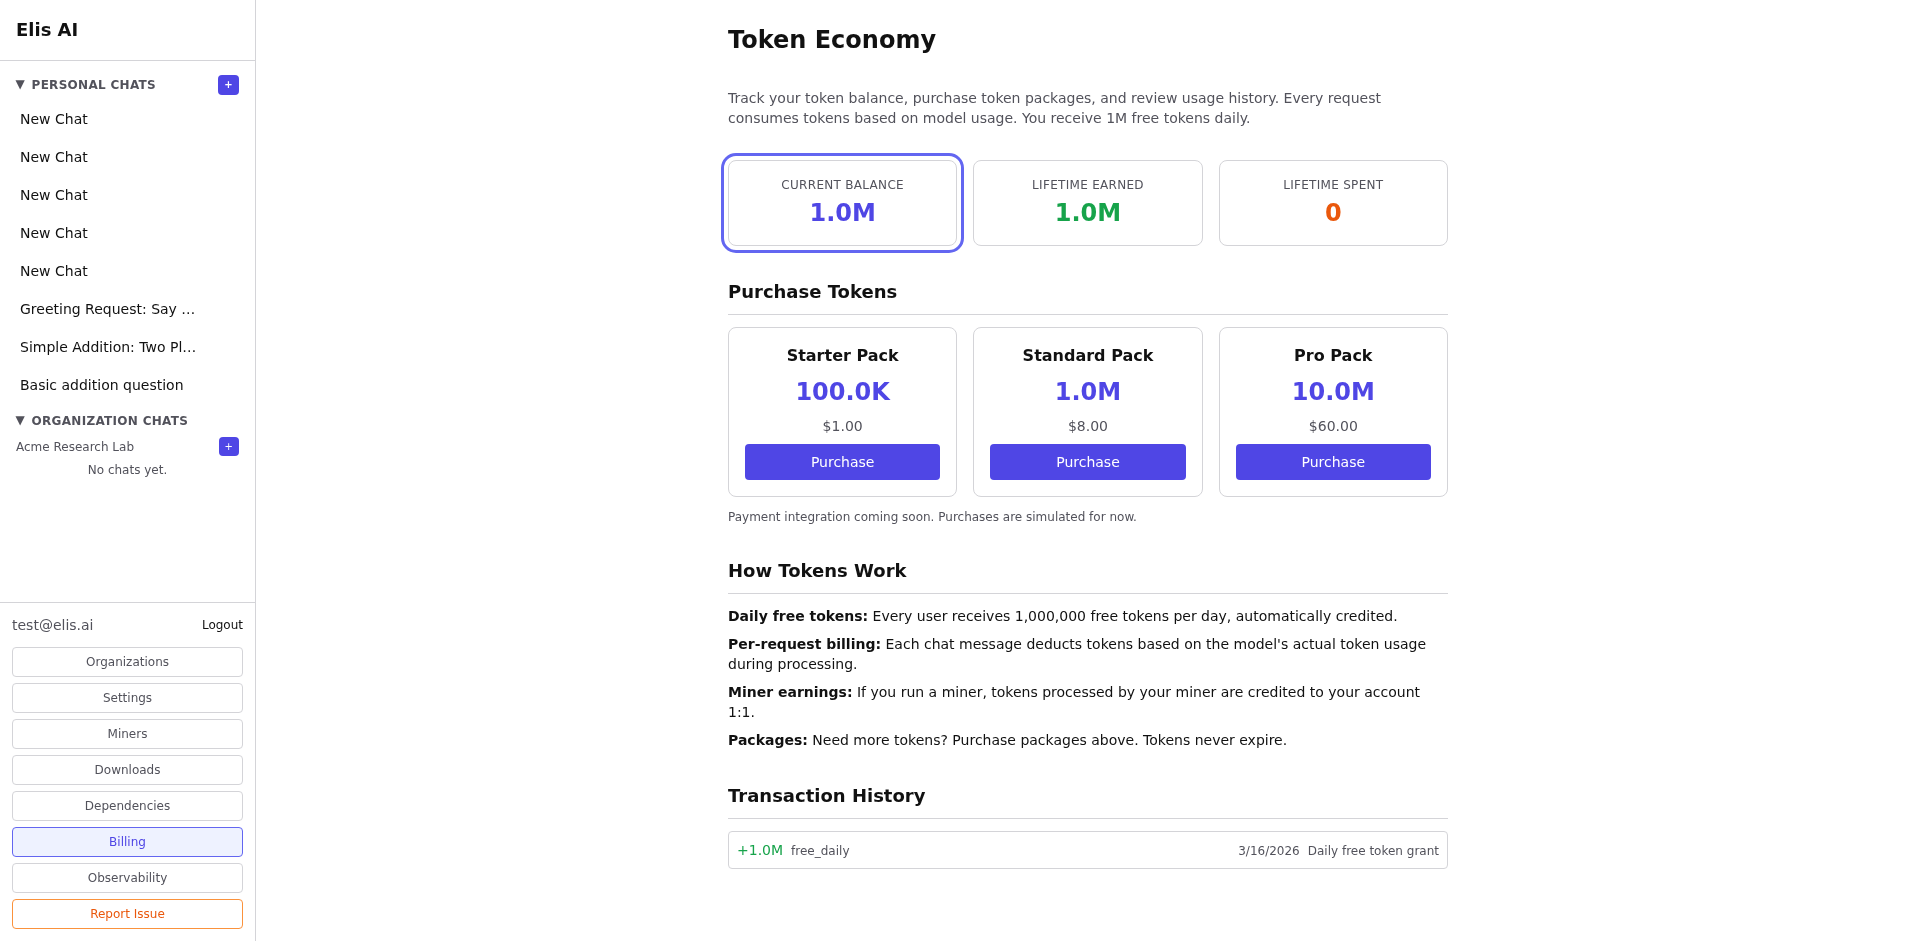
Browse token packages
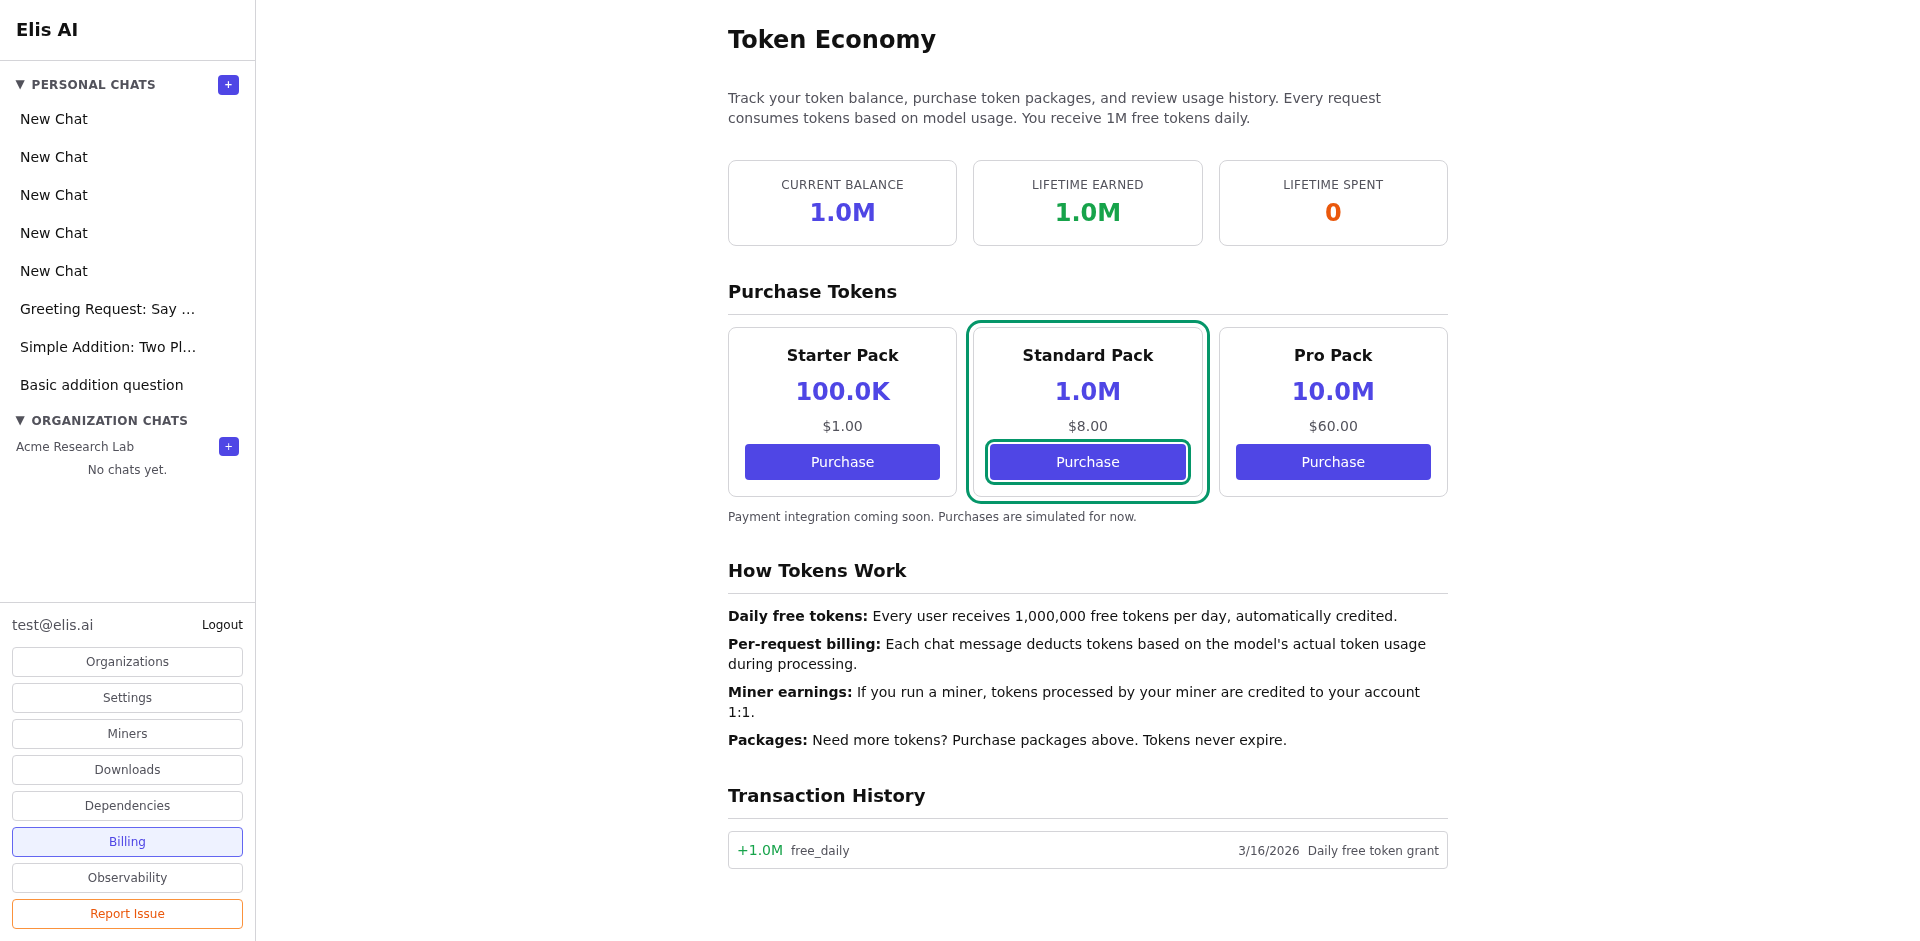
Scroll down to see available packages. Each package shows the number of tokens and the price.

Purchase tokens
Click Buy on a package. Complete the payment flow. Tokens are added to your balance immediately after purchase.
View transaction history
The Transaction History section shows all purchases and usage with timestamps.
Subscription plans & features
Each plan unlocks more than just tokens. Here’s what changes across tiers:
- Widgets — Free allows 2, Starter 5, Standard 20, Pro and Organization are unlimited.
- Deep Collection — Available on Standard and above. Page and item limits scale with your plan.
- Public Widgets & Sharing — Pro and Organization can set widgets to public, contributing data to the shared pool.
- Shared Data Pool — All plans can read from the community pool, but daily row limits increase with higher tiers.
Visit the pricing page for a full feature comparison.
Manage cancellation and renewal
Personal paid plans can now be canceled at period end and restored before they expire. Use the subscription status card on Billing when you need to stop renewal without losing access immediately.
For the full cancel-and-restore workflow, continue to the Subscription Management tutorial.